My friend J introduced me to Pinterest a few months ago. It's a very handy website.
I have fabulous boards filled with projects and recipes. Most of which I DO plan to use. Especially the freezer recipes. And the classroom ideas.
I've been searching for new recipes to add to my repetoire--especially some fresh takes on dinners. I am trying to limit the number of my recipes that use canned cream soups (have you read the ingredients lists on those?) or other processed foods.
Also, I'm always looking for new recipes to dump straight into the crockpot. I love my crockpot, er, crockpots. They make life so much easier.
Sunday, July 22, 2012
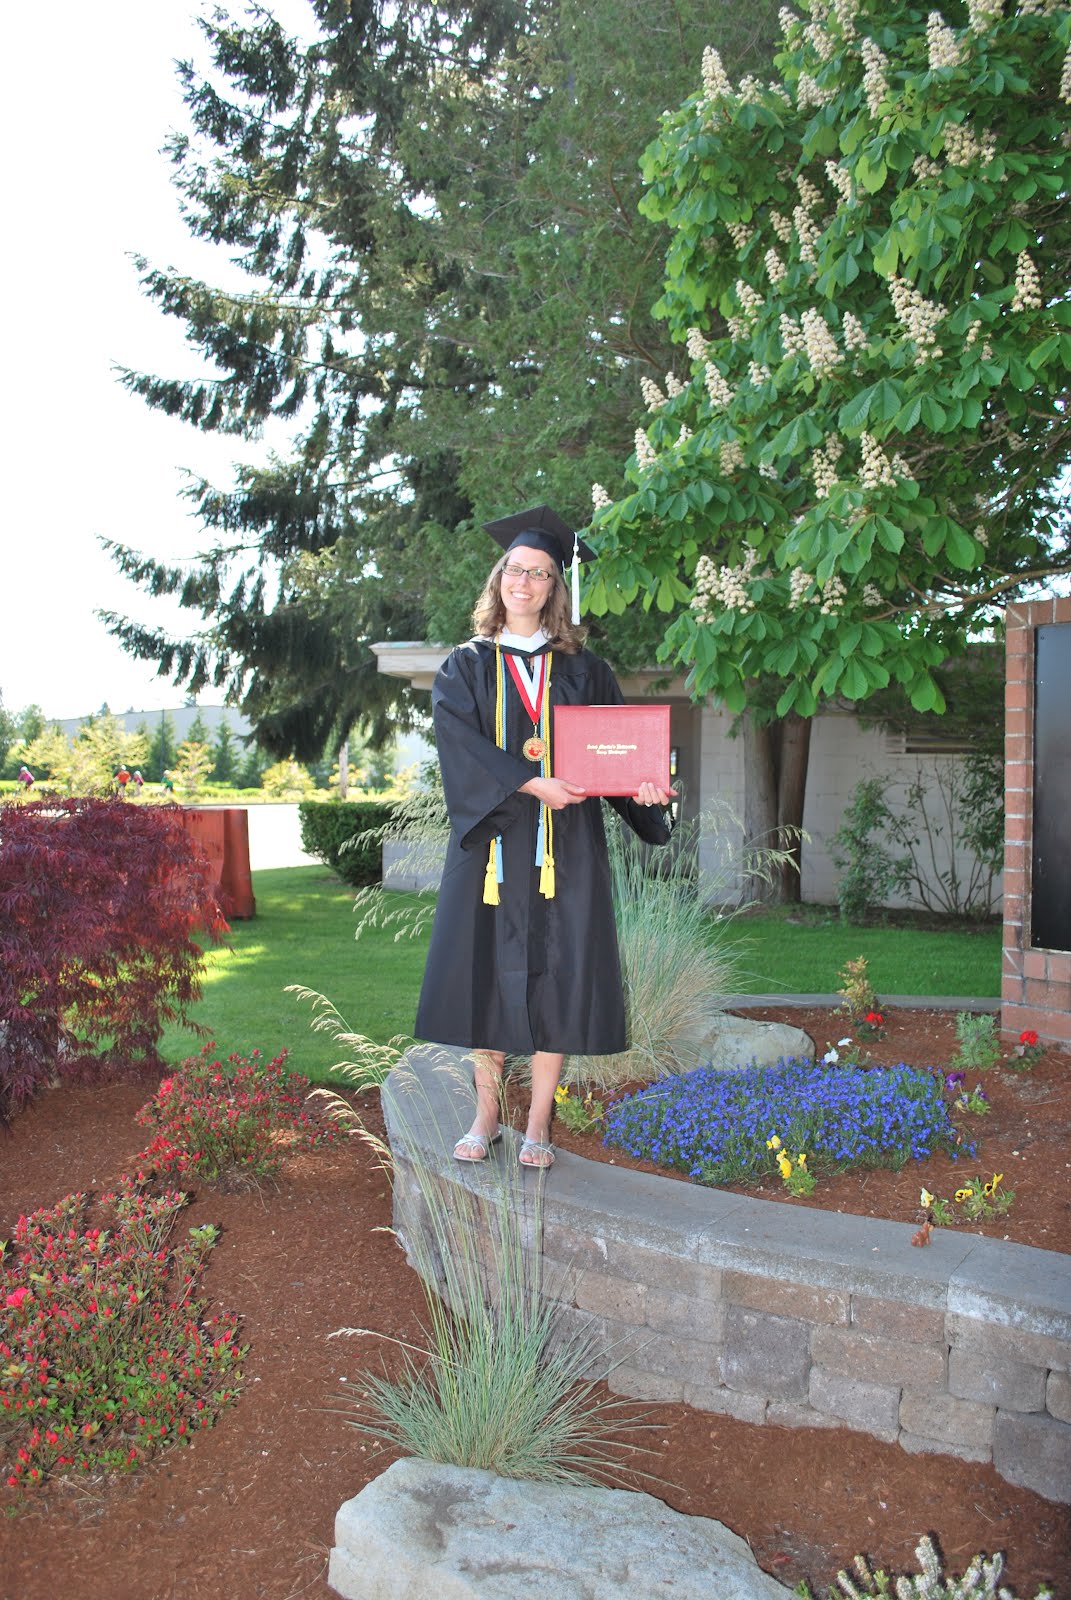
It's Official...
I have finally finished my Bachelor's degree.

I have my teaching certificate.
I have a summer with NO homework!
It has been so nice to spend time with my family--relaxing, visiting relatives, and enjoying the not-so-sunny summer weather of the Pacific Northwest (though the recent thunderstorms have been amazing!).
I've enjoyed cooking fresh meals, though I do miss the convenience of plopping a frozen meal into the crockpot. I've missed my freezer meals so much that I have decided to keep up my semiannual tradition of freezer cooking insanity. I think it will help my first year as a teacher to go smoothly. If student teaching is any clue to how "employed" teaching works, every freezer meal will be worth it's weight in gold come fall!
Friday, March 23, 2012
Easy Salsa Chicken
This is my variation of this crockpot favorite! This was a perfect Friday night dinner. After a long day student teaching, it was so nice to come home to a meal that was hot and ready to go. I used the chicken as a nacho topping for my kids, while I ate it in a pita pocket with some shredded cheese and sour cream. It was very tasty!
Easy Salsa Chicken
4 chicken breasts
1 1/2 c. salsa
4oz. green chilies
2 Tbs. taco seasoning
Place the chicken breasts in the crockpot (mine were frozen). Dump the remaining ingredients on top. Cover and cook on low 9-11 hours. About halfway through, use two forks to shred the chicken.
**I used the frozen chicken breasts because I know my crockpot heats them through within a safe amount of time. If you don't know that your crockpot can heat the frozen chicken quickly (within 2 hours) to a safe temperature, use fresh or defrosted chicken breasts and reduce the cooking time by 3-4 hours.
Saturday, February 4, 2012
Frozen Pre-Cooked Ground Beef
When I purchase ground beef for my massive cook-off, I try to buy a few extra pounds. Since I buy the gigantic 10 pound chubs from Costco, I always have some left.
There are a few ways to prepare this "spare" ground beef:
**Plain: Cook it, drain the fat, cool it, freeze it on a cookie sheet, and transfer the frozen crumbles to a prepared ziptop bag.
**Italian: Cook it with onions, garlic, and celery. Drain the fat. Stir in Italian seasoning. Cool it, freeze it on a cookie sheet, and transfer the crumbles to a prepared ziptop bag.
**Mexican: Cook it with onions and garlic. Drain the fat. Stir in Taco seasoning (or your own blend of spices. I like cumin, chili powder, oregano, salt, and pepper.) Cool it, freeze it on a cookie sheet, and transfer the crumbles to a prepared ziptop bag.
On cooking day, toss the desired amount of ground beef into a frying pan. Plain ground beef will require seasoning on cooking day, the flavored beef mixtures only need to be heated up.
**For spaghetti: Add jarred spaghetti sauce and diced tomatoes; simmer until the noodles are ready.
**For tacos/burritos/nachos: Heat through. Serve with your favorite toppings.
I usually end up with two gallon ziptop bags of frozen ground beef crumbles. Freezing the ground beef on a cookie sheet before putting it into a freezer bag is essential for easy use. If you put the warm ground beef into the bag and straight into the freezer, it will freeze in a big lump.
The flash frozen crumbles prevent the lump situation. If the bag of crumbles is solid when I take it out of the freezer (because I wasn't patient enough to wait for it to cool all the way after three days of freezer cooking) I drop it on the floor or smack it against the counter to loosen up the crumbles. My kids usually jump and the dog stares at me like I'm crazy. Whatever.
Dinner is ready in 10-15 minutes with my prepared ground beef. That's not crazy at all.
Friday, January 20, 2012
English Muffin Breakfast Pizzas
Easy to make, easy to reheat, an easy breakfast on the go!
English Muffin Breakfast Pizzas
From Kate at Our Best Bites
6 whole wheat English muffins, at room temperature
4 eggs, at room temperature
2 Tbs. milk
1/3 tsp. kosher salt (regular works fine)
About 10 dashes Tabasco sauce (I used Tapatio)
12 thin slices of deli ham or 10-12 slices of bacon (I used bacon)
1 c. shredded cheese
Extras: chopped green or red peppers, diced green onions, diced tomatoes, sliced mushrooms, etc.
Preheat oven to 400 degrees. Line a cookie sheet with aluminum foil. Coat the foil with non-stick spray or brush with oil.
Gently separate or use a knife to cut apart the halves of the English muffins.
In a flat dish or pie plate, whisk together the eggs, milk, salt, and Tabasco/ Tapatio sauce until well blended. Dip both sides of the English muffins in the egg mixture (similar to french toast) and place on the prepared cookie sheet.

Top each muffin half with some cheese, meat, and veggies. Finish with another layer of cheese (the cheese helps it all stay together).

**These are in the process of being topped.**
Bake for 12-15 minutes. Immediately loosen from the cookie sheet and allow to cool. Once cooled, place the cookie sheet in the freezer. When frozen solid, place the pizzas in labeled ziptop bag.
To serve, heat in the microwave 1-2 minutes.
Mini Pizza Muffins
These had mixed reviews. They smell yummy, but were a little bland. I'm willing to give them another try, though--maybe adding more cheese or a tablespoon of Italian seasoning to the batter.
Mini Pizza Muffins
Adapted from Mommy Makes at food.com

1 1/2 c. flour
1/2 c. fine cornmeal
1 Tbs. sugar
2 tsp. baking powder
1/2 tsp. salt
1 egg, lightly beaten
1 1/4 c. milk
1/4 c. oil
1/2 pizza or marinara sauce (I used spaghetti sauce)
1/3 c. Parmesan cheese, grated
1/3 c. pepperoni, finely chopped (or 1/3 c. cooked sausage or 1/3 c. veggies)
Heat the oven to 400 degrees. Grease 36 mini muffins tins.
In a large bowl stir the flour, cornmeal, sugar, baking powder, and salt together. In a separate smaller bowl, blend the egg, milk, and oil together. Make a well in the center and add the liquid mixture, stirring until combined.
In another small bowl, combine the pizza sauce and cheese.
Fill the muffin tins halfway. Evenly divide the sauce mixture among the muffins. Top with the pepperoni/sausage/veggies. Cover the toppings with the remaining batter.

Bake for 15 minutes or until golden brown. Remove to a wire rack to cool. When cooled, place on a cookie sheet in the freezer. When frozen solid, place in a labeled ziptop bag.
To serve, place the desired number of muffins in a container in a lunch box (they will defrost by lunchtime). Or, heat in the microwave for 30 seconds.
Chicken Empanadas
These delicious little morsels may be headed for my lunches instead of my kids'!
Chicken Empanadas
Adapted from Miss Annie at food.com
1 c. cooked chicken
1/2 c. monterey jack cheese (mozzarella works, too), shredded
1/2 c. cheddar cheese, shredded
4 oz green chilies
1 tsp. minced garlic
1/2 tsp. ground cumin
1 tsp. salt (or less)
2 pie crusts, frozen (I used homemade)
3 egg yolks (I used about 1 1/2), beaten
2 Tbs. kosher salt
1 Tbs. chili powder
Mix the first 8 ingredients together in a large bowl. On a floured surface, roll out the pie crust and cut out 4 inch circles until the pie crust is used up.
Place approximately 2 Tbs. of filling in the center of a circle. Fold the circles over and crimp the edges closed with a fork.
Place on a baking sheet. Brush with the egg yolk. Sprinkle on the salt (I forgot) and the chili powder.
Bake at 400 degrees for 12-13 minutes or until golden brown. Cool on a wire rack. When cool, place on a cookie sheet in the freezer. When frozen solid, place the empanadas in a labeled ziptop gallon bag.
To serve, place desired number of empanadas in a container in the lunchbox (it will defrost by lunchtime). Or heat in microwave for 30-45 seconds.
Easy Granola
YUM, yum! This recipe is for me! It is easy to adapt this recipe to fit your personal tastes (I have--many times).
Easy Granola
Originally from Real Simple, April 2010 (modified by me)

4 c. old fashioned rolled oats (not quick cooking)
1 c. sliced almonds
1/2 c. shredded coconut
1/4 c. unsalted green pumpkin seeds (pepitas) and/or sunflower seeds
1/4 c. crushed pecans
2 Tbs. flax seeds
1/2 c. honey (or pure maple syrup)
2 Tbs. canola oil
1/2 tsp. kosher salt
1 c. dried fruit (cherries, cranberries, blueberries, raisins, golden raisins--I use a mix of 3-4 of these)
Heat oven to 350 degrees. On a rimmed baking sheet (I use the large stoneware bar pan), toss everything but the dried fruit until evenly coated.
Bake, tossing once, for 25-30 minutes or until golden and crisp.
Add the dried fruit and toss to combine. Allow to cool. Once cooled, place in an airtight container or ziptop bag. Keeps for about 3 weeks.

Taco Roll-Ups
I made these as a lunch entree for my kiddos. They received rave reviews!
Taco Roll-Ups
From JillAZ at food.com
1 lb. ground beef
1 pkt. (1.5 oz) taco seasoning
2/3 c. water
1 lb. bread dough--defrosted, if frozen or purchased fresh (Winco has it $1.48)
2 c. shredded Cheddar cheese or taco blend
Brown ground beef. Drain fat. Add taco seasoning and water, cooking for 5-10 minutes or until water is absorbed.
Place dough on lightly floured surface. Roll into a 8x20 inch rectangle. Spread beef mixture on the dough, leaving a 1 inch border. Sprinkle with the cheddar cheese.
Roll up the dough, beginning on the long side. Pinch the seams to seal. Use a serrated knife to cut the roll into 1 slices. Place the slices approximately 2 inches aprt on a greased cookie sheet. Bake at 350 degrees for 25 minutes or until golden brown.
Place on a wire rack to cool. When completely cooled, place on a cookie sheet in the freezer. When completely frozen, place in a labeled ziptop bag.
To serve, place the desired number of rolls in a container in the lunch bag. Or, heat in the microwave for 45 seconds.
Sausage Cheese Muffins
I made these for quick on-the-run breakfasts on our busy school mornings. Paired with a piece of fruit or a smoothy or yogurt, these muffins will be quite filling!
Sausage Cheese Muffins
Adapted from ratherbeswimmin' at food.com

1/2 lb. bulk sausage
1/4 c. green onion, chopped
1/4 c. green pepper, chopped
3/4 c. flour
1/2 c. plain cornmeal
1 tsp. baking soda
1/2 tsp. salt
1/8 tsp. red pepper flakes (or a dash of cayenne)
1 egg
1 c. buttermilk (I substituted 1 c. sour cream)
1/2 c. shredded cheddar cheese
Cook sausage, onions, and green peppers in a skillet over medium heat until the meat is cooked through. Drain the grease.
In a large bowl, combine the flour, cornmeal, baking soda, salt, and red pepper. Stir in the egg, buttermilk/sour cream, sausage mixture, and cheese until just moistened.
Spoon into greased muffin tins until 2/3 filled. Bake at 400 degrees for 25-30 minutes or until golden brown and a toothpick comes out clean.
Cool on a wire rack before placing on a cookie sheet in the freezer. When frozen solid, place in a labeled ziptop bag.
To serve, heat in the microwave for 30 seconds or until heated through.
Peanut Butter and Jelly Pockets
These are so tasty! My kids love these in their lunches! They make a great dessert if you use only jelly filling.
Peanut Butter & Jelly Pockets
From flower7 on food.com
1 batch biscuit dough cut into 2-3" circles or one pkg refrigerator biscuits (I'm a homemade kinda girl, but convenience comes first sometimes!)
1/2 c. peanut butter
1 tsp. jelly (your favorite kind--I used a three berry blend)
Preheat the oven to 350 degrees. Lightly grease a cookie sheet or use stoneware.
On a lightly floured surface, roll each biscuit into a flat round, approximately 5-6" across. Place a dollop of peanut butter and a dollop of jelly in the center of each round.
Fold each circle in half over the filling and crimp the edges shut with the tines of a fork.
Place on prepared cookie sheets and bake for 15 minutes or until golden brown. Cool slightly before moving to a wire rack to cool completely.
**The filling wil be VERY hot!**
Place on a cookie sheet in the freezer. When frozen solid, place the pockets into a labeled ziptop bag.
On serving day, place desired number of pockets into a container for lunch. They will defrost in time for eating. Or, warm in the microwave for 1-2 minutes.
Calzone Roll- Ups
These tasty entrees are perfect for lunches, party snacks, or dinner! Premade pizza dough makes them easy to prepare.
Calzone Roll-Ups
(From a forgotten website--kudos to the original creator, I'm sorry I lost your website!)

1 lb premade pizza dough (Winco has it for $1.48 or you can make your own)
1/2 c. chopped onion
1/2 c. sliced fresh mushrooms
1/2 c. green peppers, chopped
1/2 c. red peppers, chopped
1 tbs. olive oil
1/3 c. pizza sauce
1/2 c. diced pepperoni
1 c. shredded cheese, italian blend or mozzarella
1/4 c. black olives, chopped
2 tbs. Parmesan cheese, grated
Allow bread dough to come to room temperature. Turn dough onto a lightly floured surface. Divide in half and allow to rest for 5 minutes.
In a small skillet, saute the onions and peppers in olive oil for 3-5 minutes. Add mushrooms for the final 2 minutes.
Roll each dough portion into a 16 by 10 inch rectangle. Spread with pizza sauce and top with the sauteed vegetables, diced pepperoni, chopped olives, and shredded cheese. Roll up the dough on the long side, pinching the edge to seal. Cut each roll into 12 slices.
Places the slices, cut side down, in two greased 9 inch circle pans. Sprinkle with Parmesan cheese.
Cover and let rise for 30 minutes or until doubled in size. Bake at 375 degrees for 18-22 minutes or until golden brown.
Remove from pan to cool on a wire rack. After cooled, place on a cookie sheet in the freezer. Once frozen solid, place the rolls in a labeled gallon ziptop bag.
To serve, heat in the microwave for 2-3 minutes or place frozen in a lunchbag (it will defrost in time for lunch).
Fresh Fruit Cups
These delicious fruit cups are kept in the freezer until the night before or morning of. The ingredients are fresh, real fruit, and no extra sugar is added!
Fresh Fruit Cups
From Munchkin Mama at food.com

16oz strawberries frozen (thawed) or fresh
12oz pineapple orange juice, thawed
2-20oz pineapple (I use one can crushed and one can of tidbits)
2-11 oz cans mandarin orange segments
6 bananas, not too yellow, diced (I prefer to use three)
16oz frozen blueberries
1/3 c. lemon juice
Place all ingredients in a large bowl and gently stir to mix.
Fill 4oz plastic containers with the mix, then place them in the freezer. After the contents are frozen solid, all the containters go in a plastic shopping bag for easy keeping.
To serve, place in the refrigerator the night before or use as the cold pack in a lunch box. My kids LOVE these--and so do I!
Sunday, January 1, 2012
The Final Meals
It has taken two days to prepare the last four recipes. I had hoped to be finished by Thursday, so these last recipes had to be worked around scheduled events.
But, I am done! Here are the last four recipes:
Chicken Empanadas (mini-size, for the kids' lunches)
Crispy Parmesan Chicken Strips (YUM! On of our favorite recipes!)
My Chicken Enchiladas
Lasagna (2 pans)
Well, almost done. Except for the last of the ground beef that needs to be fried up. And, freezing the leftover shredded cheese in smaller bags. Details. Minor details.
I would rather spend my final non-school day somewhere besides the kitchen. Like sitting in my chair reading a book. Or facebooking. Or playing a board game with my family. You get the idea.
Day Three: 14 Meals
Today was a short day, since I had afternoon plans. I still managed to get quite a few meals into the freezer, but I am definitely tired of cooking all day long!
The recipe list:
Best Breakfast Cookies (2 bags)

Chicken Stew
Beef and Barley Stew
Supersimple Beef Stew
Chuckwagon Casserole
Quick Chicken Lasagna (2 pans)
White Chicken Chili
Italian Wedding Soup
Double-Coated Chicken (2 bags)
PB&J Pockets
Sadly, I have few pictures from today.
The recipe list:
Best Breakfast Cookies (2 bags)

Chicken Stew
Beef and Barley Stew
Supersimple Beef Stew
Chuckwagon Casserole
Quick Chicken Lasagna (2 pans)
White Chicken Chili
Italian Wedding Soup
Double-Coated Chicken (2 bags)
PB&J Pockets
Sadly, I have few pictures from today.
Day Two: 17 More Meals
Day Two went by fast! I accomplished a lot, though.
Here's the recipe list:
Easy Granola

Sausage Cheese Muffins

Taco Rollups
Simple Shredded Pork Tacos
Honey Mustard BBQ Pork Ribs
Pulled Pork Sandwiches
Honey BBQ Shredded Pork
Shredded Pork Sandwiches
Autumn Harvest Stew
Savory Beans and Rice
Cowboy Beef
BBQ Chicken
Caribbean Jerk Chicken
Fresh Fruit Cups

Breakfast Burritos (3 bags)

Here is a tip for working with large portions of meat:
I completed 5 different pork recipes today from one large pork shoulder (Costco has good prices on packages of pork shoulder roast in 11-14 pound increments). Before I opened the package of pork, I prepped the bags with all the other ingredients for the recipes. Then, all I had to do was slice the meat into the appropriate size for each recipe and drop it into the prepared bags. Once the meat was all cut up, I washed up, sealed the bags, and placed them in the freezer.
I thought this worked very well, since I didn't have to go back and forth from the raw meat to other ingredients for each individual recipe. I hope that helps!
Subscribe to:
Posts (Atom)